Howdy all,
here I continue my report about the hexapod robot journey.
more building and a lot to learn
So I had a couple of problems to tackle
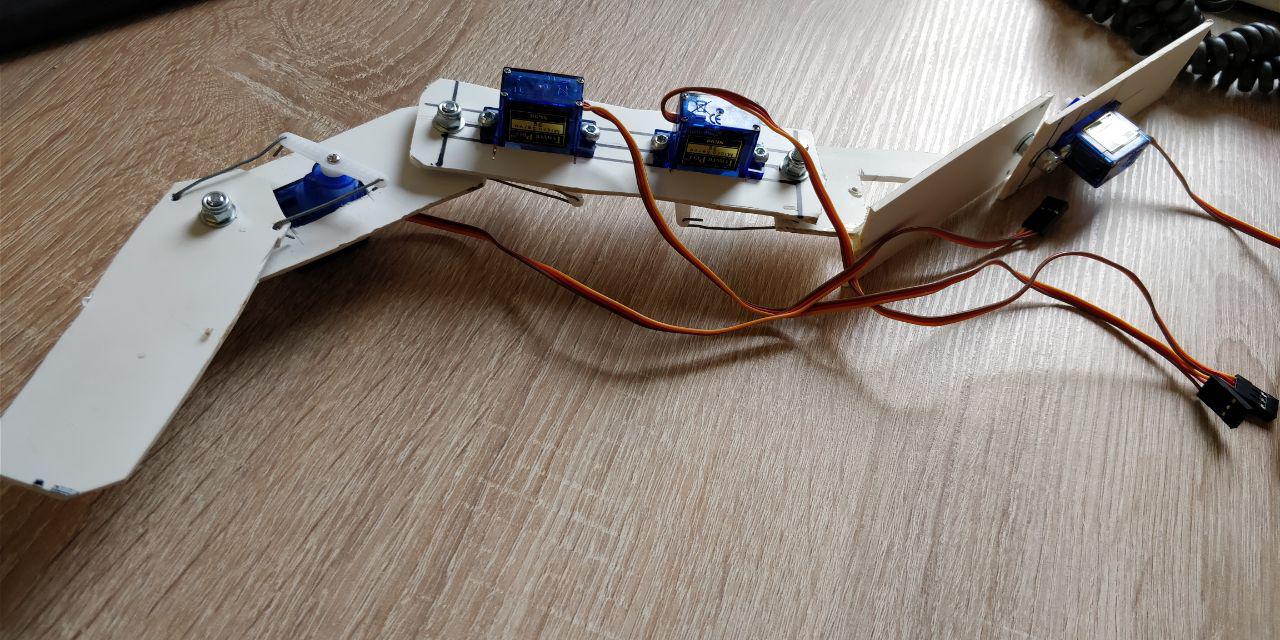
- too many cables
- randomly moving servos
- learn python as the language of choice for robotics on a pi
- build a better prototype leg
- how the hell does a “step” work for a robot leg?
Too many cables and servo jitter
Moving servos using the GPIO ports and simulate a PWM signal with them is just a lot of work and absolutely unreliable. A bit of research brought me to this little toy: The PCA9685, a I2C driven servo motor controller.
It can run 16 servos per unit and has a external power supply so the servos are not run by the Raspberry PI’s internal power. It is controlled by the I2C bus on the Raspberry Pi, so it really only needs four cables to work. This is the tutorial I used to get started with the controller. If you are planning to buy one, make sure you buy one with pre-installed pins 🙂

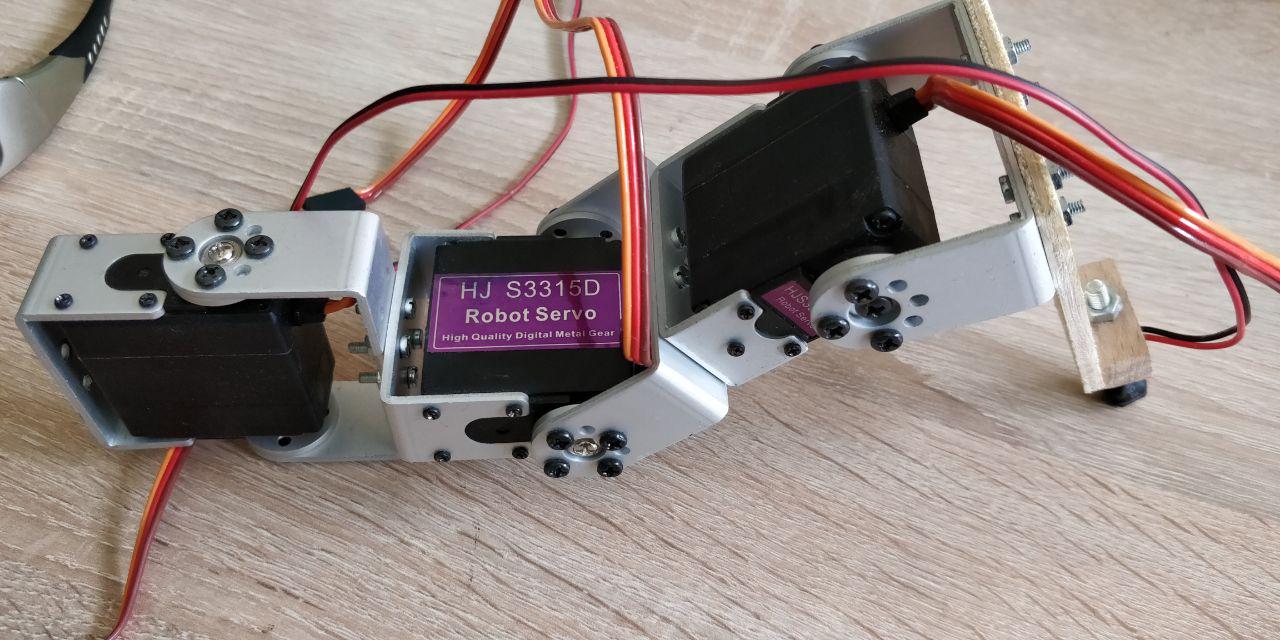
Build a better prototype leg
so I started looking for better servos and a good way to build a leg from them. With normal servos like this it’s really hard to attach something to it. I wanted to avoid using 3D printed parts as I wanted my bot to look self-made and punky. After more searching I found these

servos that have a though-going axis and aluminum brackets delivered with them. Using a couple of 3mm screws I was able to create a leg prototype that looked really nice.
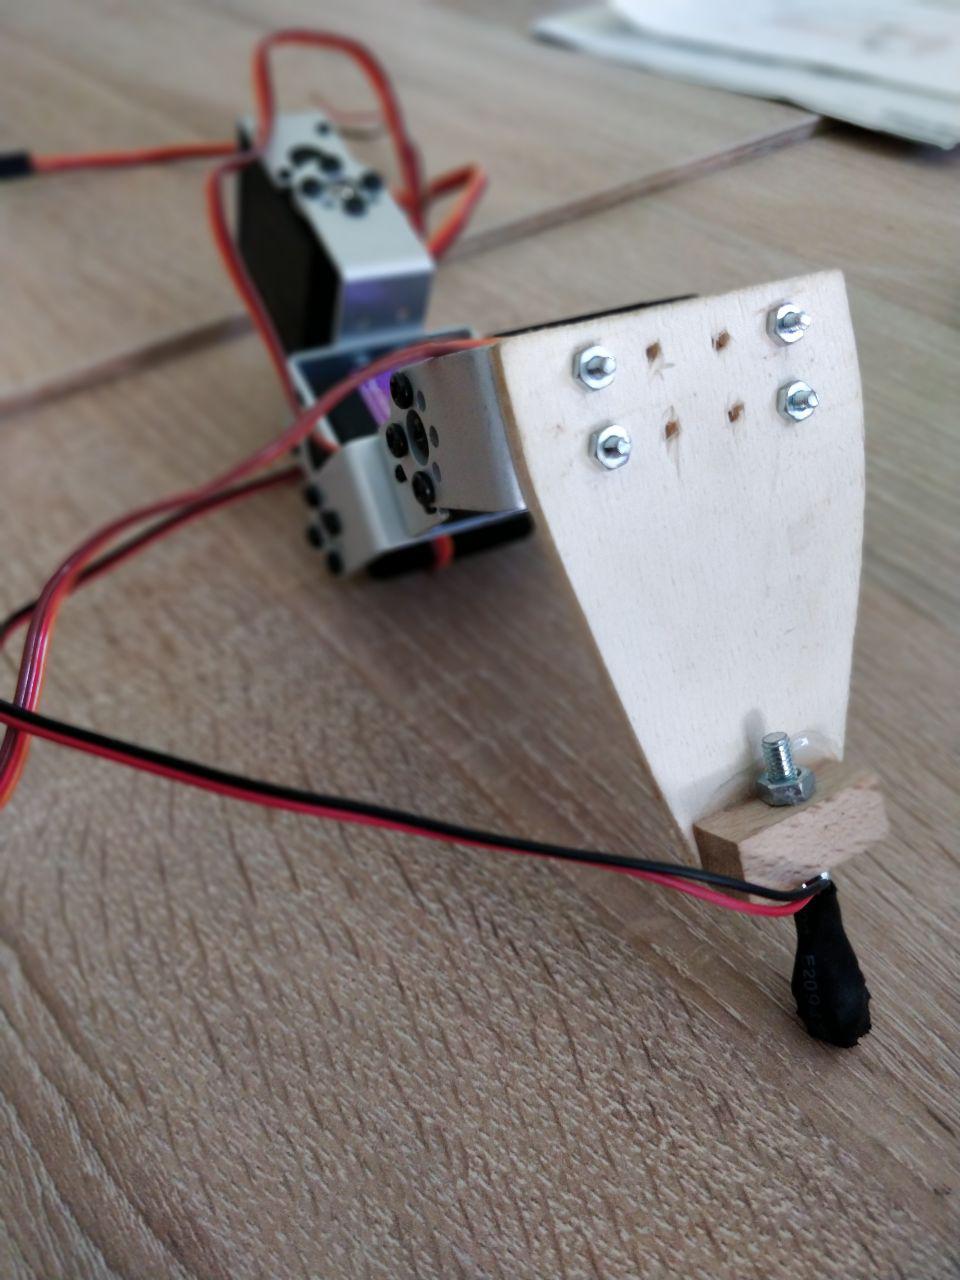
I added a push-button to the end of the leg just for testing if this would make sense. I thought I could use it to find out, if the leg has actually touched the ground.. Did it work? We’ll see in a later chapter.
How does a “step” for a robot work
OK so we have three servos. Basically a hip, a knee and an ankle. The shoulder is turned 90° for forwards/backwards motion.
I was never really good at maths, so I figured that somebody must have done this before. Kudos to Oskar Liang for putting this together.
After a bit of fiddling around, the leg started moving somewhat natural, so I decided that now it’s a good time to put together a hexapod.